Connect your photo booth to the big screen
Your booth already takes great pictures. With the Engagement API every shot lands on the polaroid wall seconds later, and the guest scans a QR code to take it home. The three calls, and a recipe for Sparkbooth, pibooth, dslrBooth and any booth with an output folder.
The Wunderframe team 8 min read
A photo booth is the busiest corner of most parties. But what it shoots usually stays in the booth: the guest sees their picture for a few seconds on a small screen, and everyone else sees nothing until the gallery link arrives a week later.
If the event runs on Wunderframe, your booth can post straight into the evening’s engagement, the same one guests post to from their phones. The shot hangs on the polaroid wall a few seconds later, and the guest scans a QR code to take it home. You keep your booth, your camera and your software. You add a few lines of code.
Why booth photos belong on the big screen
- It is instant. The print develops on the wall while the guest is still putting down the props. That is the moment people look up.
- Everyone sees it. One booth becomes a show for the whole room, next to the photos and notes guests send from their phones.
- Guests take it home. Every shot gets its own take-home link: a page on the guest’s phone with their picture and Share and Save buttons. No app, no email address, no gallery to search through.
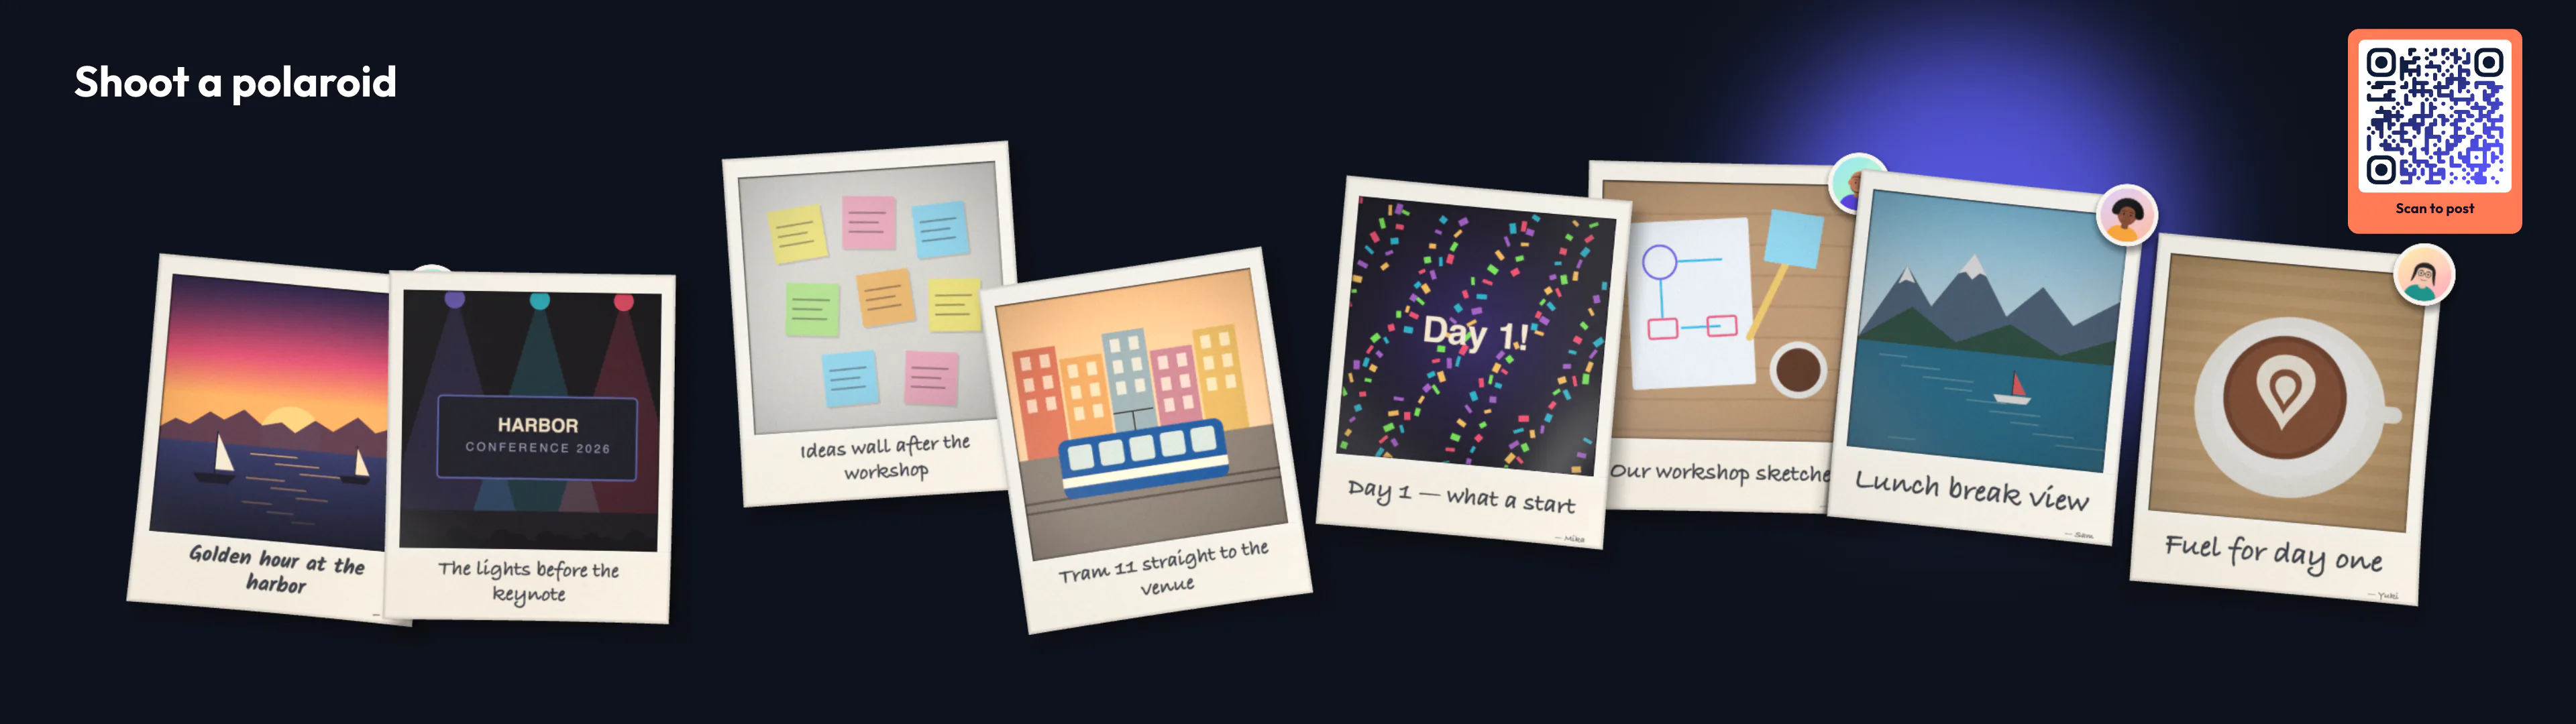
The polaroid wall. A booth shot hangs here next to the photos guests send from their phones.
The flow: three calls and a short wait
First, as the workspace owner, create an API key under Settings → Integrations with Live engagements (engagements:write). Keep it on the booth’s computer or your server, never in a web page. GET /api/v1/engagements gives you the engagement’s id, its rooms with their keys, and whether it asks for consent. Then, for every shot:
- Ask for an upload.
POST /api/v1/engagements/{id}/uploadswithkind,mimeand the exact size inbytes. You get anupload_idand a signedupload_url. - Send the file. PUT the bytes to
upload_urlwith theheadersthe answer named, straight away: the URL is short-lived and works once. - Post it.
POST /api/v1/engagements/{id}/postswith theupload_id, aclient_labelsuch as Booth 1, theroomkey if the engagement has rooms, and"consent": truewhen it asks for consent. Send anIdempotency-Keyheader: the file’s hash is a good one. - Wait for the copy. Poll
GET /api/v1/engagements/{id}/posts/{post_id}every two seconds untilshare_readyis true, then showtake_home_urlas a QR code.
The whole flow in Node.js 18 or later, with nothing to install:
// send-shot.mjs
import { readFile } from 'node:fs/promises';
import { createHash } from 'node:crypto';

const API = 'https://www.wunderframe.com/api/v1';
const ENG = process.env.WUNDERFRAME_ENGAGEMENT; // the engagement id
const KEY = process.env.WUNDERFRAME_KEY;        // engagements:write

async function call(method, path, body, headers = {}) {
  const res = await fetch(API + path, { method, body: body && JSON.stringify(body),
    headers: { Authorization: `Bearer ${KEY}`, 'Content-Type': 'application/json', ...headers } });
  const data = await res.json();
  if (!res.ok) throw new Error(`${res.status} ${data.error.code}: ${data.error.message}`);
  return data;
}

/** Upload, post, wait for the copy. Returns the link for the QR code. */
export async function sendShot(bytes, { room, label = 'Booth 1', wait = true } = {}) {
  const hash = createHash('sha256').update(bytes).digest('hex');
  const up = await call('POST', `/engagements/${ENG}/uploads`,
    { kind: 'photo', mime: 'image/jpeg', bytes: bytes.length });
  const put = await fetch(up.upload_url, { method: up.method, headers: up.headers, body: bytes });
  if (!put.ok) throw new Error(`upload ${put.status}`);
  // consent: true only once the guest agreed on the booth's screen
  let post = await call('POST', `/engagements/${ENG}/posts`,
    { kind: 'photo', upload_id: up.upload_id, client_label: label, room, consent: true },
    { 'Idempotency-Key': hash });
  for (let i = 0; wait && i < 30 && post.take_home_url && !post.share_ready; i++) {
    await new Promise((r) => setTimeout(r, 2000));
    post = await call('GET', `/engagements/${ENG}/posts/${post.post_id}`);
  }
  return post.take_home_url;
}

// node send-shot.mjs shot.jpg
if (process.argv[2]) console.log(await sendShot(await readFile(process.argv[2])));
A few things the API does for you. The post goes through the engagement’s moderation like any guest’s: with approval it waits for the operator before it reaches the walls. The take-home link works for 24 hours, and polling returns the same link every time. If someone scans before the copy is ready, the page simply waits a few seconds. On the free plan the shared copy carries a small Wunderframe mark in a corner; the walls always show the photo without it. The same few lines in Python are in the docs.
A recipe for the booth you have
Booth software falls into three groups: some uploads to a server you name, some runs a plugin or a script after each shot, and some only writes files to a folder. There is a way in for all three.
Sparkbooth: a tiny relay
Sparkbooth’s Custom Upload
sends each photo as a multipart POST to a Service URL you choose, with the fields
media, username, password, name,
email and message. It expects
{"status":true,"url":"…"} back and
shows that url as the QR code
on its sharing screen. So a relay receives the upload, calls the Engagement API and answers with
the take-home link:
// relay.mjs, next to send-shot.mjs
import { createServer } from 'node:http';
import { sendShot } from './send-shot.mjs';

createServer(async (req, res) => {
  const form = await new Request('http://relay' + req.url,
    { method: 'POST', headers: req.headers, body: req, duplex: 'half' }).formData();
  if (form.get('password') !== process.env.RELAY_PASSWORD) return res.writeHead(401).end();
  try {
    const bytes = Buffer.from(await form.get('media').arrayBuffer());
    const url = await sendShot(bytes, { wait: false }); // the page waits for the copy itself
    res.writeHead(200, { 'Content-Type': 'application/json' });
    res.end(JSON.stringify({ status: true, url }));
  } catch (err) {
    res.writeHead(502).end(); // and keep the bytes in a queue to retry
  }
}).listen(8080);
Answer quickly: Sparkbooth waits for the relay, and the take-home page waits for the copy by
itself. The relay is the only place the key lives, and it ignores email, which
Wunderframe does not need.
pibooth: a plugin of a few lines
pibooth,
the Raspberry Pi booth, runs Python plugins on hooks. After processing, the finished picture is
app.previous_picture_file. An upload plugin sets app.previous_picture_url,
the way pibooth-google-photo does,
and pibooth-qrcode shows it when its
prefix_url is {url}. A sketch, with post_shot being the
three calls in Python from the docs:
import pibooth
from booth import post_shot  # upload, post, wait: returns take_home_url

@pibooth.hookimpl(tryfirst=True)  # set the URL before the QR plugin reads it
def state_processing_exit(cfg, app, win):
    try:
        app.previous_picture_url = post_shot(app.previous_picture_file)
    except Exception:
        app.previous_picture_url = None
        queue_for_later(app.previous_picture_file)  # retry when back online
dslrBooth and LumaBooth for Windows: a trigger
These booths have Triggers: on events such as processing_start, which carries the final_file, or session_end, they call a webhook URL or launch an app. Point one at send-shot.mjs or at a small local webhook, and the final file goes to the wall. Their own QR codes lead to Lumasoft’s hosting, so show the take-home QR code yourself, as below.
PhotoboothProject and photobooth-app: a command or a plugin
The web-based PhotoboothProject runs a post-photo command where %s is the file name: node send-shot.mjs %s is all it needs. photobooth-app takes Python plugins on its hooks, like pibooth, and its rclone synchronizer can also copy the shots to a folder that the next recipe watches.
Any other booth: watch the hot folder
Closed apps such as LumaBooth on the iPad, Darkroom or Breeze write their finished pictures to
an output folder. Watch that folder and send each new file: with inotifywait or
rclone on Linux, with Hazel on macOS. Wait until the file is fully written, or you upload half a
picture. On Linux, close_write and moved_to fire only then:
inotifywait -m -e close_write -e moved_to --format '%w%f' /srv/booth/out |
while read -r file; do
  node send-shot.mjs "$file" || cp "$file" /srv/booth/queue/
done
Showing the QR code
On the booth, where it can. Sparkbooth shows the url your relay answers, and pibooth-qrcode shows app.previous_picture_url. The guest scans it at the same moment they see their picture, which is when they want it.
Next to the booth, where it can’t. When the booth shows only its own code, let your script show the take-home QR code instead: a full-screen browser window on a second monitor at the booth, or a small screen right beside it, pointed at the newest link. The big screens by the polaroid wall then do what they do best: show every shot as it arrives, with the engagement’s own QR code so guests without the booth can post from their phones.
Keep a take-home code near the booth and on screen for about twenty seconds. It opens one person’s picture, so it does not belong on the stage screen where the whole room can scan it.
The booth takes the picture. The wall shows it to the room. The QR code sends it home.
Privacy and reliability checklist
- Ask, then post. When the engagement asks for consent, show its
consent.texton the booth’s start screen and send"consent": trueonly after the guest agreed. Put a visible notice at the booth that its photos appear on the screens. - Moderate before display. Set the engagement to approval if a person should see every shot before the room does. A rejected post loses its take-home link.
- Collect as little as you can. Wunderframe needs no email address and no name.
client_labelnames the booth, not the person. The engagement’s retention applies to booth shots as to any other. - Queue when offline. Keep every shot on the booth and send it when the network is back. The booth keeps shooting.
- Retry safely. Retry a post with the same
upload_idand the sameIdempotency-Key, and you get the first post back instead of a second one. Once you have posted, retry the post, never the upload. - Mind the upload URL. It is short-lived and works once. If the PUT fails or comes too late, ask for a new upload: nothing has been posted yet.
- Check before the guest steps up. Read the engagement: when its
stateisclosed, posts are refused with423, so let the booth say so rather than take a picture that cannot go up. - Guard the key. It can post into every engagement of your workspace. Keep it on the booth computer or the relay, and revoke it in Settings → Integrations if it leaks.
Connect your booth before the next event
Every field, error and limit is in The Engagement API, with the booth example in curl, Node.js and Python, and in the API reference. How the polaroid wall works is in From QR code to polaroid wall, and how a booth and screens work together in Photo booth hire vs a photo booth on your screens. Running booths for a living? See Wunderframe for photographers. Plans are on Pricing. Start free, create an engagement and an API key, and send one test shot to the wall.
Related posts
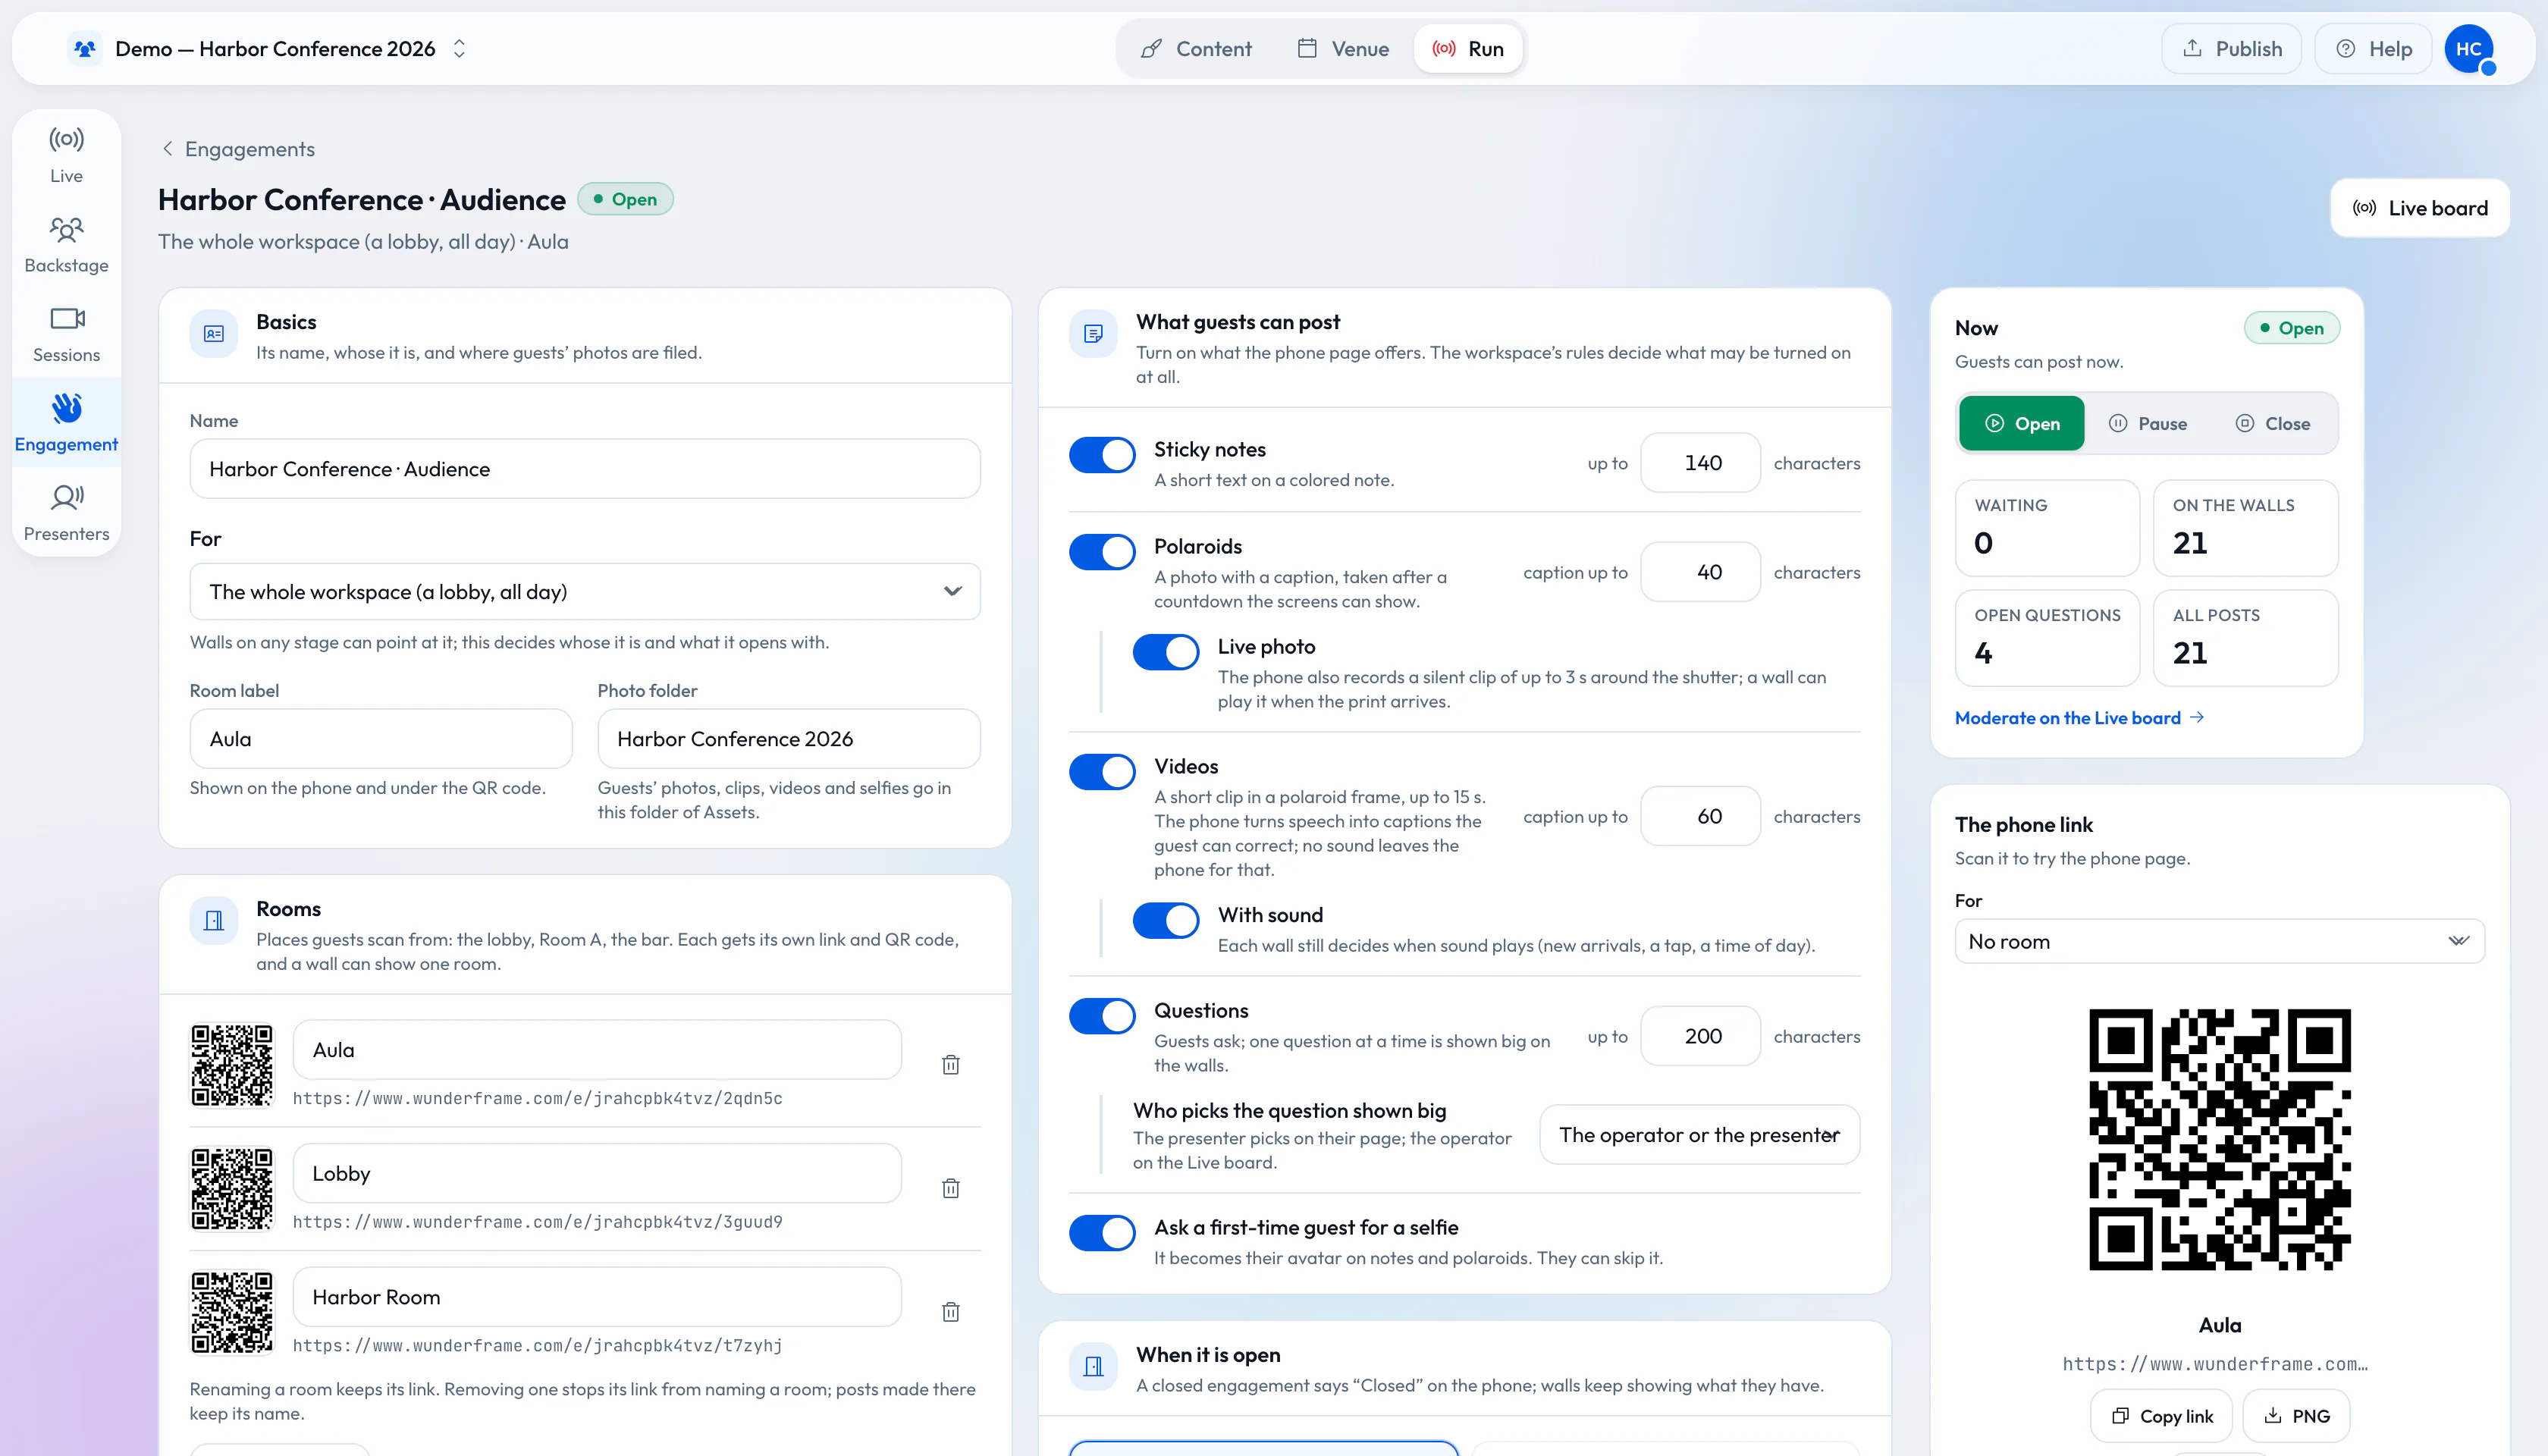
From QR code to polaroid wall: engage 1,000 guests without an app
A QR code, a phone browser and your screens. How to set up sticky notes, questions and a polaroid wall for a big crowd, and what changes when a thousand people post.
A guest photo wall for your wedding, no app needed
Guests take the best photos of a wedding, and the couple usually sees them weeks later. A photo wall puts them on the big screen during the party. How to set one up, what makes guests use it, and what to decide about privacy first.
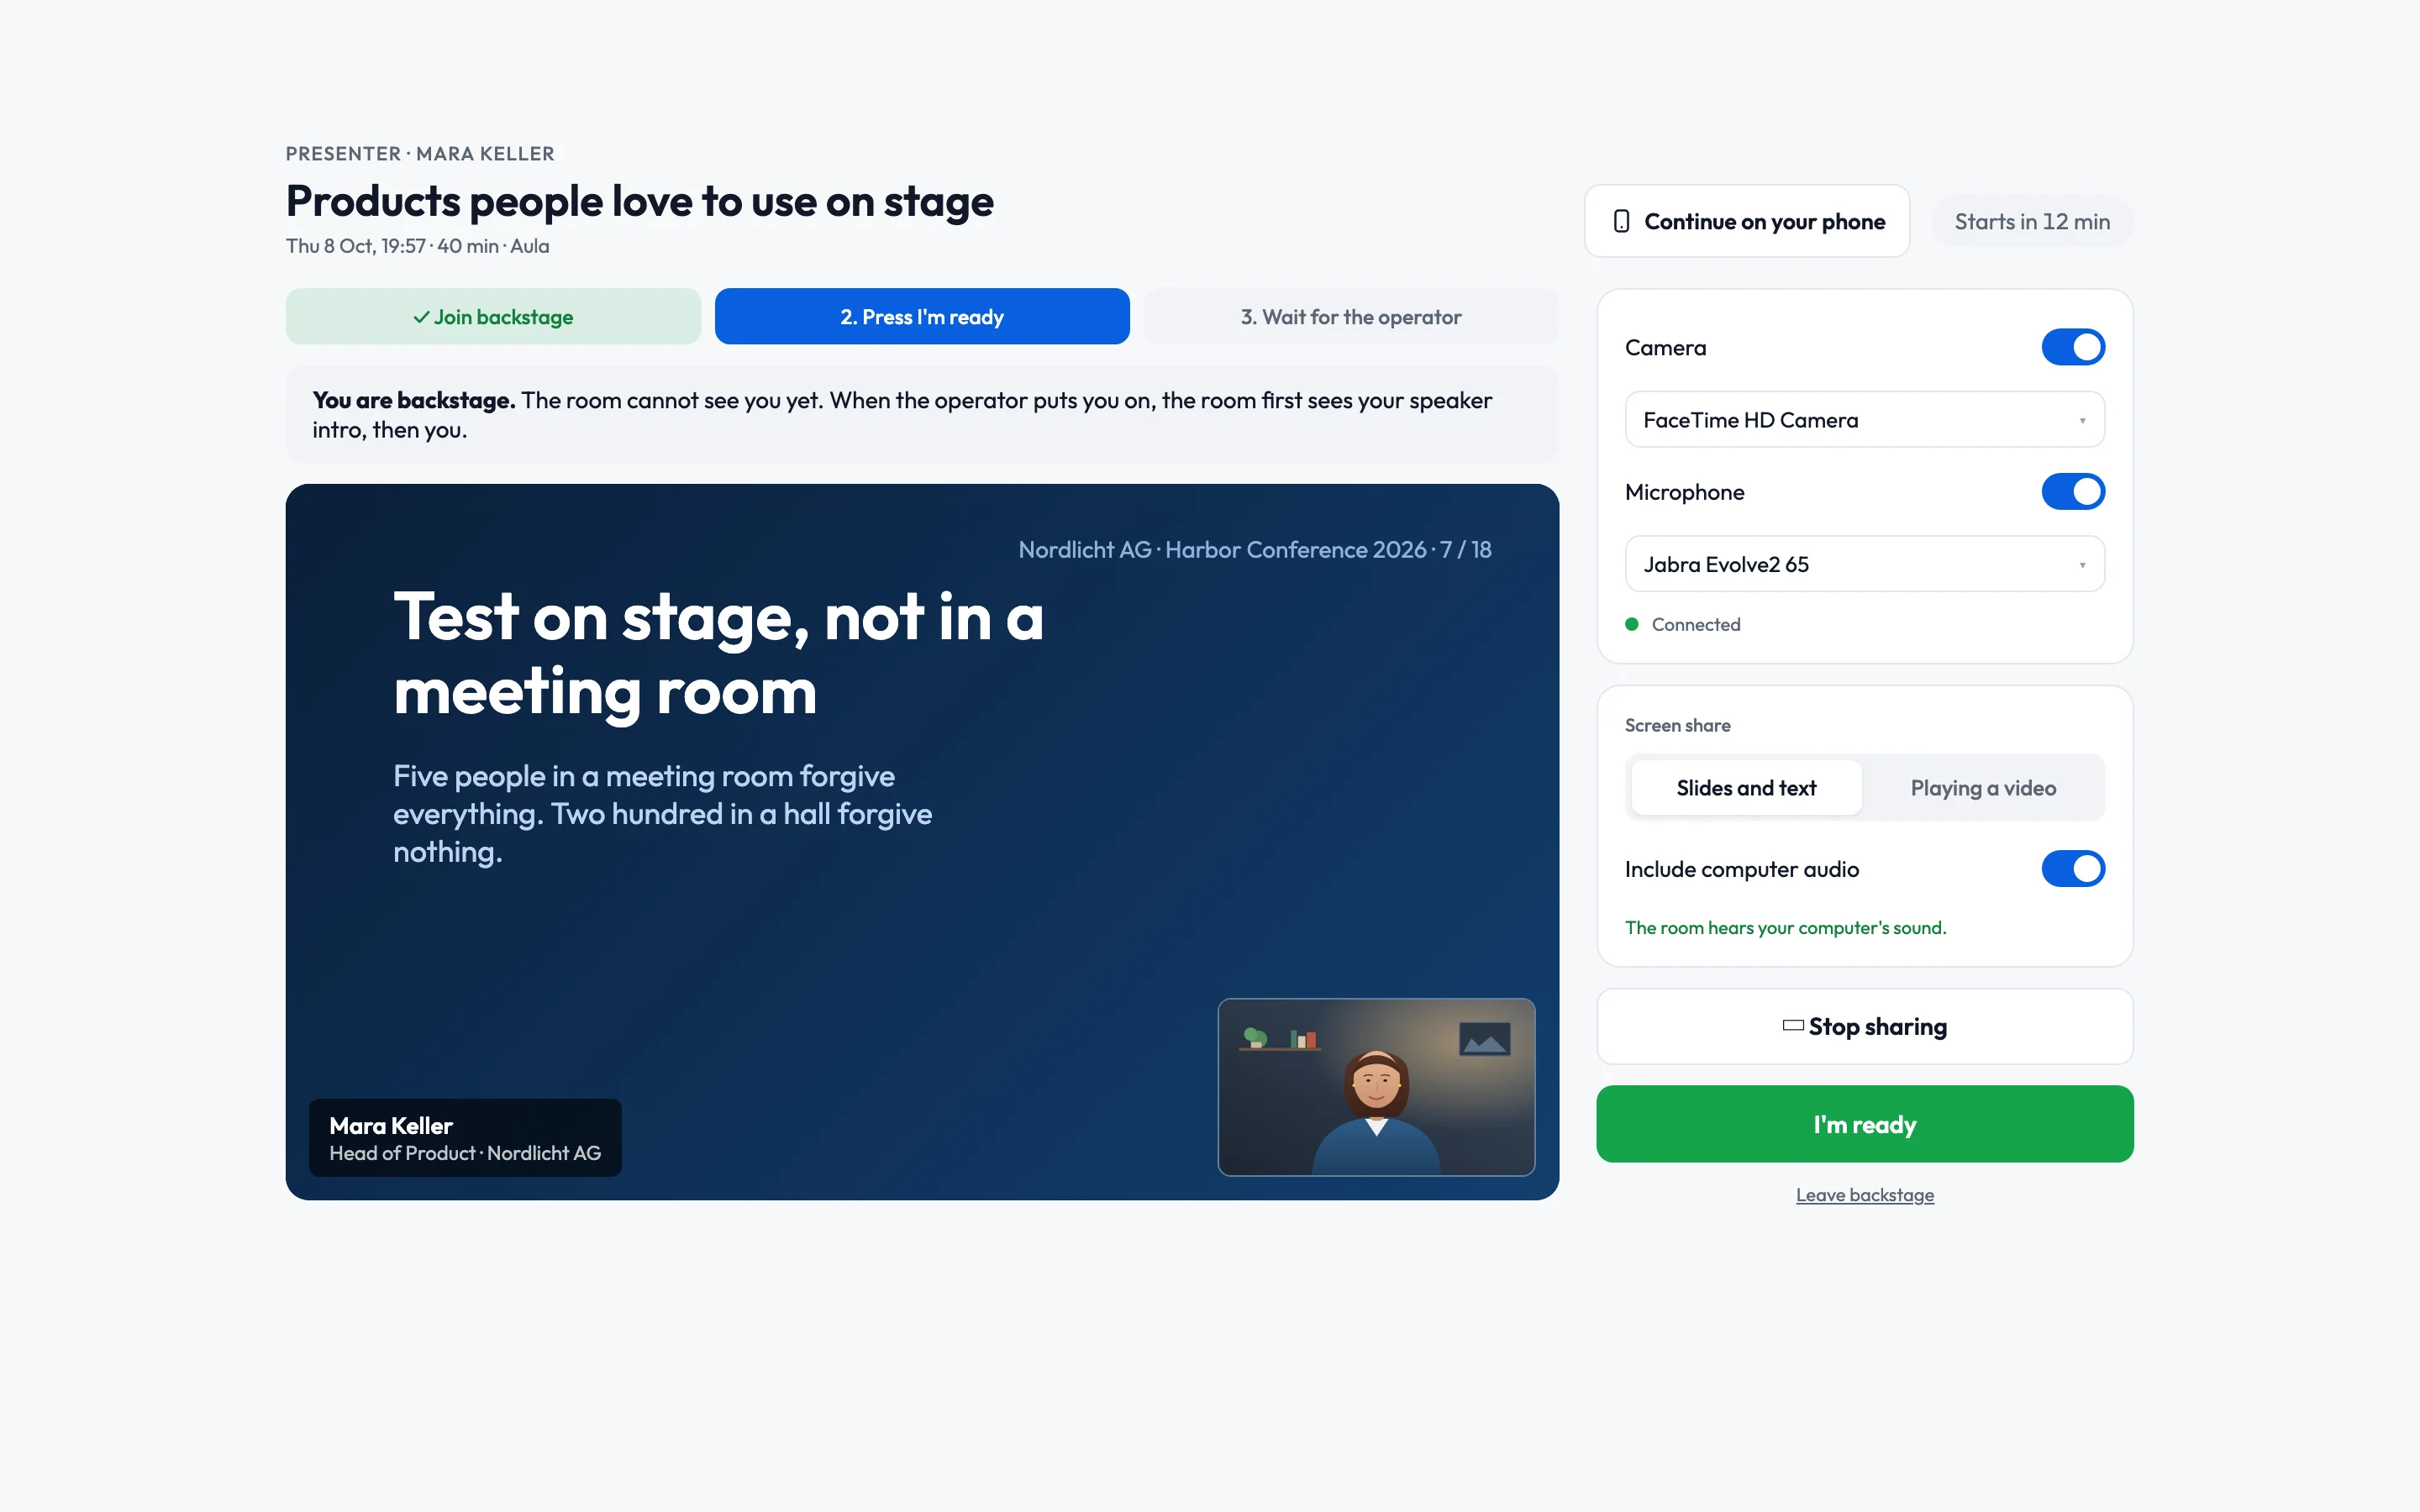
Live speakers without surprises: a playbook for event managers
Rehearsals, the backstage link, a network you control, operators for every room and a Q&A that knows who picks the questions. What to prepare with your speakers before the day, and how the day itself runs.